Home
Home
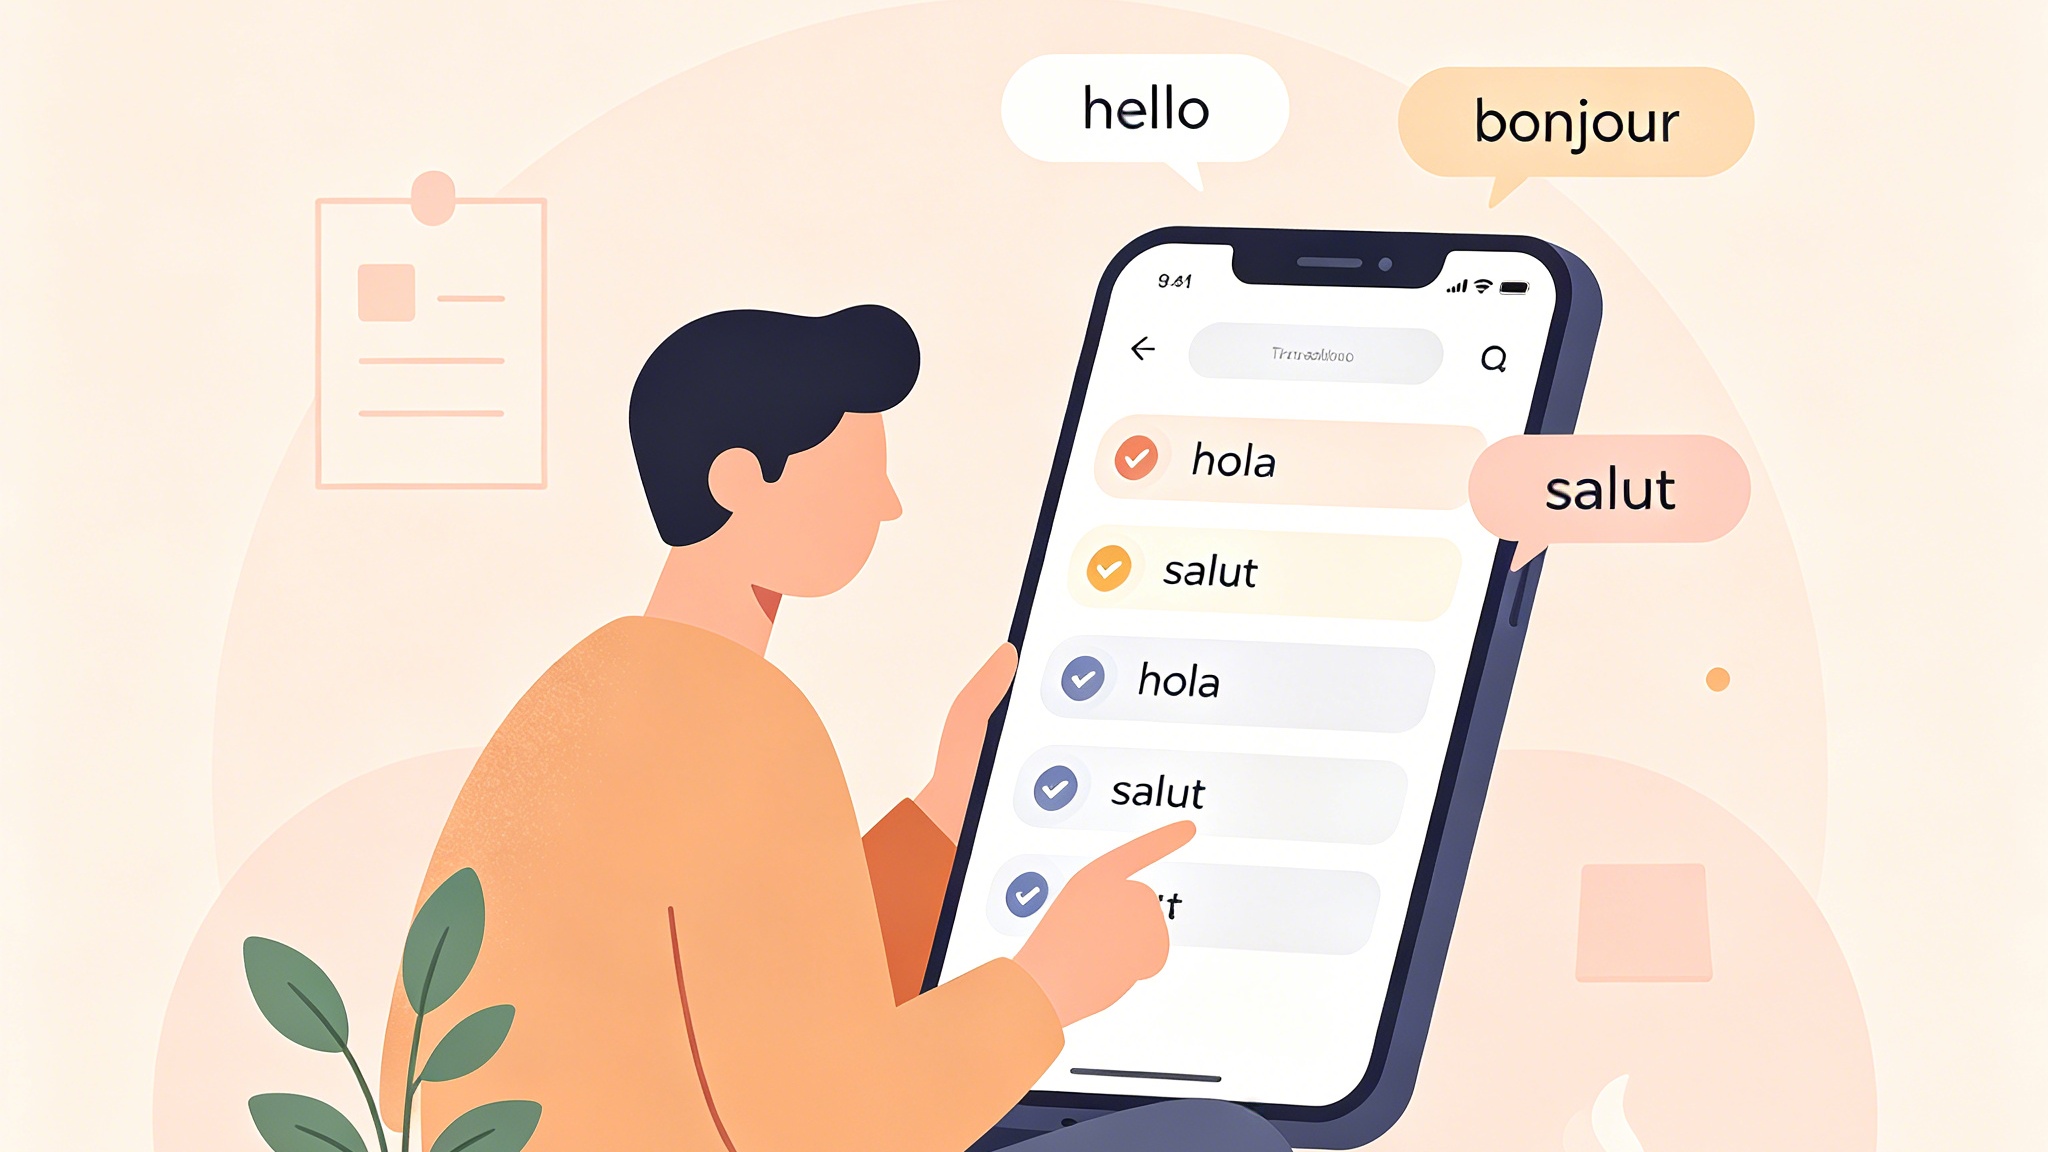
How to Effortlessly Remove Objects From Video Using AI Magic Eraser Tools

The ability to remove an unwanted person, a distracting logo, or a stray water bottle from a video used to require hours of frame-by-frame rotoscoping by professional editors. However, the rise of "Magic Eraser" technology—specifically AI-powered video inpainting—has transformed this complex task into a process that takes only a few clicks. Whether you are searching for a specialized .com web platform or a built-in feature in professional suites, understanding how these tools handle temporal data is key to achieving a clean, seamless result.
What is an AI Magic Eraser for Video?
A video magic eraser is an artificial intelligence application designed to identify and remove specific elements from video footage while automatically filling the resulting gap with contextually accurate pixels. Unlike static photo editing, video erasers must account for movement, lighting changes, and camera shakes.
The technology relies on a process known as "Temporal Inpainting." The AI looks at the frames preceding and following the object you want to remove. By analyzing the background information revealed as the unwanted object moves, the algorithm "borrows" those pixels to patch the hole. If the background remains hidden throughout the entire clip, the AI generates new textures based on its training data to maintain visual continuity.
How Modern Magic Eraser Tools Handle Video Content
Most users searching for "magic eraser.com" are looking for browser-based solutions that offer quick fixes without high-end hardware requirements. These tools typically follow a specific computational workflow:
- Object Masking: The user highlights the unwanted element using a brush or a selection tool.
- Tracking: The AI tracks the object across all frames, ensuring the mask moves as the object or camera moves.
- Frame Analysis: The system examines surrounding frames to find "clean" background data.
- Generative Filling: If no clean data exists, the AI uses a neural network to synthesize a matching background.
- Smoothing: A final pass ensures that there are no "flickering" artifacts, a common issue where the patched area changes slightly from frame to frame.
Popular Online Platforms for Video Object Removal
When navigating the landscape of .com websites offering these services, several platforms stand out for their balance of speed and quality. In our testing of various cloud-based editors, we have observed significant differences in how they handle complex textures.
Cloud-Based AI Suites
Many integrated creative platforms now include a "Magic Eraser" or "Object Remover" as part of their video toolkit. These sites are ideal for creators who need to clean up social media clips. The primary advantage of these services is that the heavy processing occurs on remote servers, meaning you can edit high-resolution 4K footage even on a basic laptop.
Dedicated Inpainting Websites
There are niche websites focused solely on object removal. These tools are often more precise than general editors. They frequently offer specialized features like "Watermark Remover" or "Logo Eraser," which are optimized to detect high-contrast overlays typical of branding.
Professional Software Features
For those who require the highest level of precision, professional desktop applications have integrated "Content-Aware Fill" for video. This is essentially the professional version of a magic eraser. It offers more control over the "reference frames," allowing the editor to manually tell the AI which parts of the video are safe to use for patching.
Step by Step Instructions for Using an Online Video Eraser
If you have a video clip that needs cleaning, the process on most modern websites follows a similar pattern. Based on our experience with these interfaces, here is the most efficient workflow:
Step 1: Upload and Prepare the Clip
Upload your video file (usually MP4 or MOV). For the best results, ensure the clip is trimmed to only the section where the unwanted object appears. This reduces the processing time and minimizes the chance of tracking errors.
Step 2: Define the Unwanted Area
Use the brush tool to paint over the object you want to disappear. A crucial tip from our testing: do not paint too far outside the lines. While you need to cover the object entirely, providing too much "extra" space in the mask can confuse the AI, leading to a blurry halo effect around the removal area.
Step 3: Enable AI Tracking
Most "magic" tools will offer an "Auto-Track" feature. Once you have masked the object in the first frame, the AI will attempt to follow it through the rest of the duration. If the object moves behind another element (occlusion), you may need to pause and manually adjust the mask.
Step 4: Preview and Refine
Run a low-resolution preview. Pay close attention to the edges of the erased area. If you see "jittering" or "warping," it usually means the AI struggled with the background texture. You can often fix this by adjusting the brush size or selecting a different "sampling" method if the tool provides one.
Step 5: Render and Export
Once satisfied, choose your export settings. If the tool offers a "High Quality" or "Deep Clean" mode, use it for the final export even if it takes longer. This usually enables more advanced temporal smoothing algorithms.
Comparing Professional and Web-Based Magic Erasers
| Feature | Web-Based (.com) Tools | Professional Desktop Software |
|---|---|---|
| Accessibility | High (Any browser) | Low (Requires installation) |
| Ease of Use | One-click / Brush-based | Steep learning curve |
| Processing Power | Cloud-based | Local GPU-intensive |
| Accuracy | Good for small objects | Excellent for complex scenes |
| Temporal Stability | Prone to minor flickering | Highly stable with manual tuning |
| Cost | Subscription or Pay-per-clip | High upfront or monthly cost |
Challenges in Video Object Removal
While the technology is impressive, it is not flawless. In our practical application of these tools for professional projects, we have identified several recurring challenges that users should be prepared for.
1. Complex Backgrounds
Removing a person standing in front of a simple brick wall is easy. Removing a person standing in front of a crowd or moving water is significantly harder. The AI has to guess what the moving water or the people behind would look like, often resulting in a "smudged" or "liquified" appearance.
2. Changing Light and Shadows
If the object you remove cast a shadow on the floor, you must remove the shadow as well. Many beginners forget this, leaving a "ghost shadow" that makes the video look unnatural. Furthermore, if the lighting in the scene changes (e.g., a passing cloud), the AI-generated patch must also change its brightness to match.
3. Temporal Jitter
This is the "tell-tale" sign of AI video editing. Because the AI processes frames, the patch might look slightly different in frame 10 than it does in frame 11. This creates a subtle flickering or "boiling" effect. Higher-end tools use temporal consistency losses to force the pixels to stay stable over time.
How to Choose the Right Tool for Your Project
Not all "Magic Eraser" tools are created equal. Your choice should depend on the complexity of the footage:
- For Social Media (TikTok/Reels): A simple, automated .com tool or mobile app is usually sufficient. These platforms have high compression anyway, which often hides minor AI artifacts.
- For YouTube Content: Look for a web-based suite that offers "Multi-Frame Tracking." This ensures the object stays erased even if you move the camera.
- For Commercial or Film Work: You should stick to professional desktop software. The ability to use "Clean Plates"—static images of the background used to guide the AI—is essential for a "perfect" invisible edit.
Privacy and Ethics of Video Eraser Tools
When using online tools (the ".com" variety), it is important to consider where your data goes. Most cloud-based AI services require you to upload your video to their servers.
- Data Security: Always read the privacy policy. Some free tools may use your uploaded footage to further train their AI models.
- Copyright: Removing a watermark from a video you do not own can lead to legal issues. These tools should be used for cleaning up your own original content or footage you have the rights to.
- Integrity: In journalism or documentary work, using a magic eraser to remove elements from a scene is often considered a violation of ethical standards, as it alters the reality of the captured event.
Why Some Users Might Be Confused by the Name
As noted in several search results, "Magic Eraser" is a term shared by three very different industries. It is important to distinguish them:
- Household Cleaning: The Mr. Clean Magic Eraser is a physical sponge made of melamine foam. It is used for scrubbing stains off walls. If you see a video of someone "cleaning a fridge," they are talking about this sponge, not AI software.
- Photo Editing: Google Photos and various apps have a "Magic Eraser" for still images. While similar, these do not have to worry about the "time" element (temporal data).
- Video Editing: This is the AI tool discussed in this article, used for dynamic, moving footage.
What is the Future of Video Magic Erasers?
We are currently moving toward "Generative Video Inpainting." Older versions of this technology simply copied pixels from other frames. The next generation, powered by Diffusion Models (similar to Sora or Runway Gen-3), can actually "imagine" what is missing.
For example, if you remove a car from a street, the AI won't just look for a patch of asphalt; it will understand the perspective of the road, the reflections on the surrounding buildings, and the way the light should hit that specific spot. This will eventually make object removal completely undetectable, even in the most complex 4K shots.
FAQ
Can I remove watermarks with a video magic eraser?
Yes, most video magic erasers are highly effective at removing static watermarks or logos. However, if the watermark is large and covers significant detail, the AI may leave a slightly blurry area.
Is there a free magic eraser for video?
Many .com platforms offer a free tier. Usually, these allow you to process a limited number of videos or export with a low resolution (like 480p or 720p). High-definition exports typically require a subscription.
How long does it take to process a video?
For a 10-second clip, a web-based AI tool usually takes between 30 seconds and 3 minutes to process, depending on the complexity of the object and the server's speed.
Do I need a powerful computer to use an online magic eraser?
No. Since the processing happens in the cloud, you only need a stable internet connection and a modern web browser. This is the primary reason why ".com" tools are so popular.
Why does the area I erased look "blurry" or "smudged"?
This usually happens because the AI didn't have enough background information to work with. If the camera is static and the object never moves, the AI has to "hallucinate" the background. Try using a shorter clip or a smaller brush size to minimize the smudge.
Summary
The evolution of "Magic Eraser" technology has democratized high-end video editing. For most users, a browser-based AI tool is the most efficient way to remove distractions, logos, and unwanted people from their footage. By selecting the right tool, carefully masking the target, and ensuring temporal stability through AI tracking, anyone can produce professional-looking video content. As generative AI continues to advance, these tools will only become more intuitive, eventually making manual rotoscoping a relic of the past.